
C ++ is a general-purpose programming language developed by Bjarne Stroustrup as an extension of the C programming language. Understanding the style of object-oriented programming is considered the most important and basic requirement. In this C ++ tutorial, you will understand how to set up the environment for C++, what the main software required for C++, and how to install C++ in our systems.
The most two important software must be installed on your computer if you are decided to set up an environment, especially for C++.
The text editor is mainly used to type the program which means you'll type your program using this. Windows Notepad, the OS Edit command, Brief, Epsilon, EMACS, and vim or vi are a few examples of editors. On several operating systems, the text editor's name and version may change. For instance, vim or notepad can be used on Windows, Linux, or UNIX, while notepad will be utilized on Windows. The files you produce with your editor are referred to as source files, and for C++ they are commonly designated with the extension. cpp,.cp, or.c. Your C++ programming should begin only with a text editor that means after the installation of the text editor.
The actual C++ compiler used to turn your source code into an executable application is this one. Although most C++ compilers don't care what extension you have given in your source code, it will use .cpp by default if you don't indicate anything different. The most popular and freely accessible compiler is GNU C/C++; if you have the corresponding Operating Systems, you can also utilize HP or Solaris compilers.
We already discussed the two main software required for c++. Now let us see which one we should install first and how that can be done.
Let us see what are the steps for installing C++ in our system.
Step 1 : Choose your favorite and most convenient text editor in Step 1.
Several text editors are available, including TurboC, CodeBlocks, Dev.C++, Visual Studio, Eclipse, and many others, that can be used to work with C++.
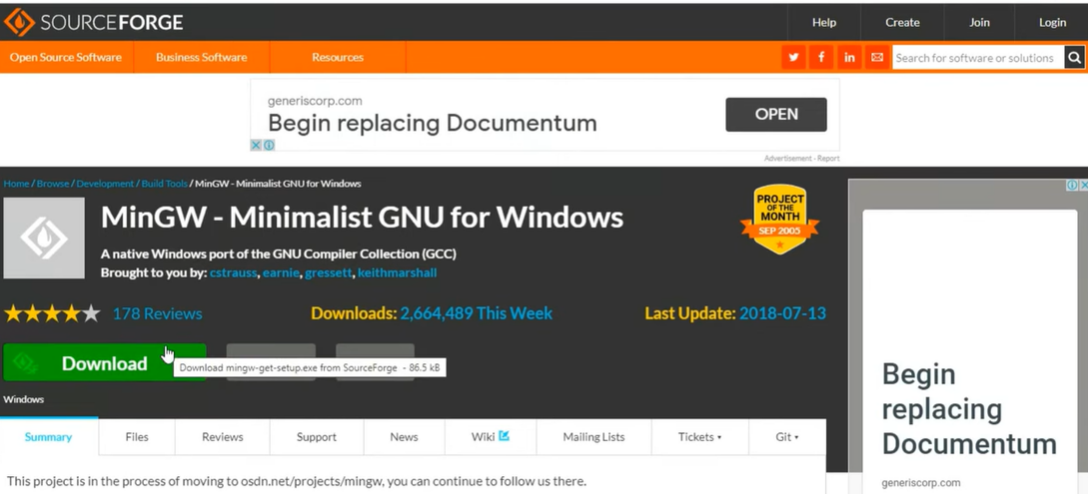
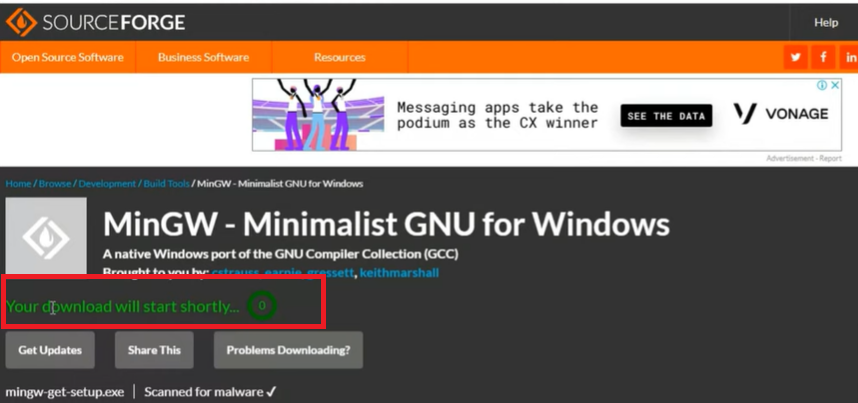
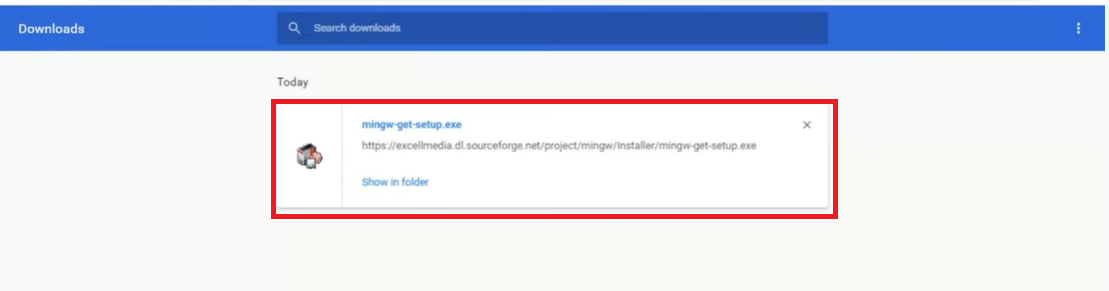
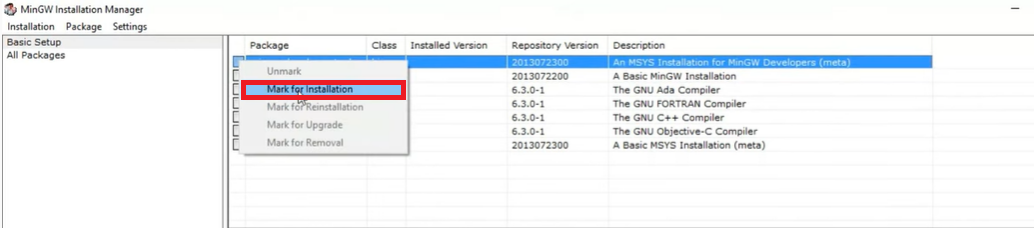
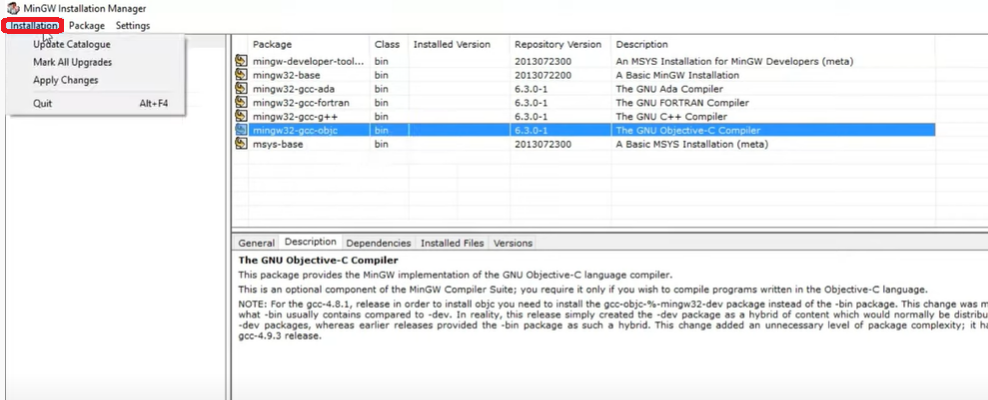
Step 2: Installing MinGW on your local system is step two.
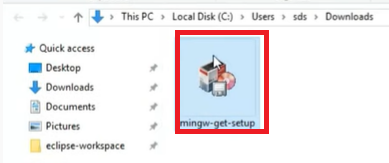
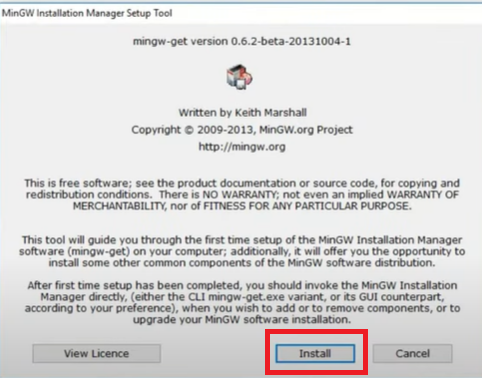
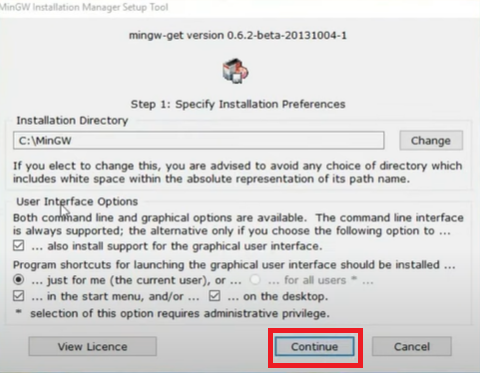
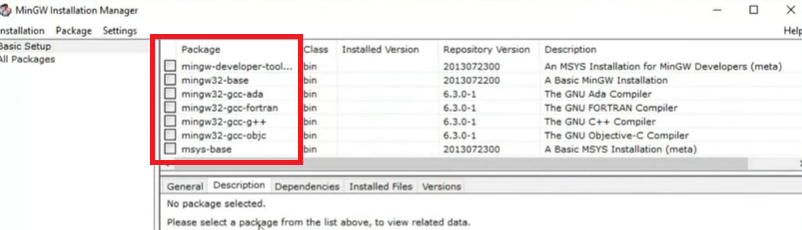
You need a compiler after choosing your text editor for the computer system to understand your code. For the same, we require MinGW. When MinGW is downloaded for the same, environment variables must be set.
For creating native Windows applications, the native C/C++ compiler MinGW (GCC) provides freely distributable import libraries and header files.
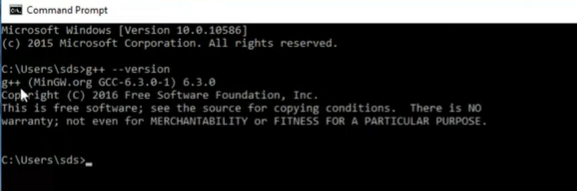
$ g++ -v
Using the above command line you can check whether the GCC is installed already in your system.
If GCC is already installed in your system then it will successfully print a message including the gcc version, Thread model, target information, etc.
If MinGW (GCC) is not installed then we have to install it for our system.
You can immediately start by running your first C++ program.
For example, I am taking a simple “ Hello World Program”, after installing a Text Editor and the C++ compiler.
#include <iostream.h>
2    #include<conio.h>
3    void main()
4     {
5        clrscr();
6        cout << "Hello World.! Welcome to Learn eTutorials c++ tutorial
7        getch();
8    }
Output:
Hello World.! Welcome to Learn eTutorials c++ tutorial
Linux offers a convenient and coding-friendly environment, making it a fantastic platform for programming in a variety of languages. In Linux distributions like Ubuntu, Red Hat, Fedora, Arch Linux, etc., we require the GCC, a GNU C, and C++ compiler, installed in our system in order to compile C++ programs.
Let us have a look at how to use a few straightforward commands to install the GCC compiler step by step in a Linux environment.
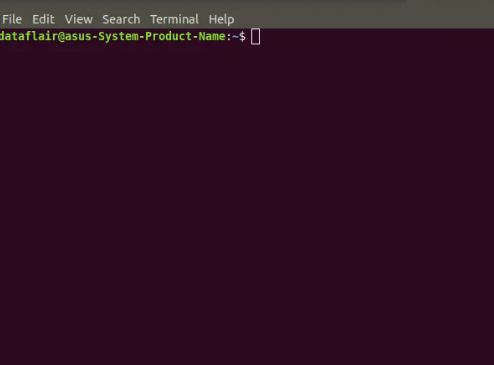
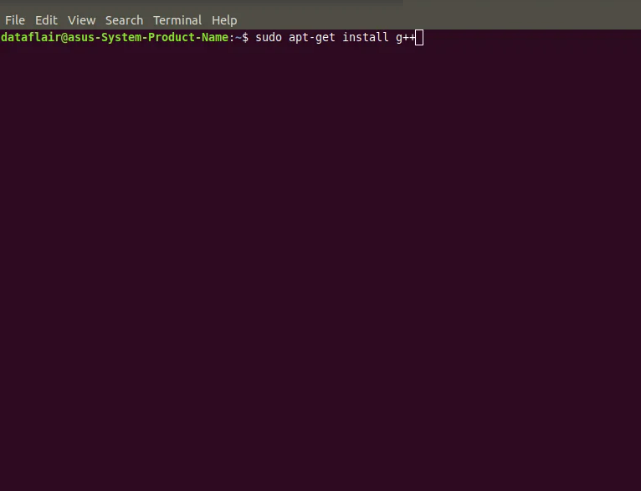
Opening the terminal would be our initial action. Your desktop screen can display the terminal icon. If not, it's accessible via the search menu. A shortcut to launch the terminal is to simultaneously press Ctrl +Alt+ T.
Then your command-prompt screen would be seen like this.
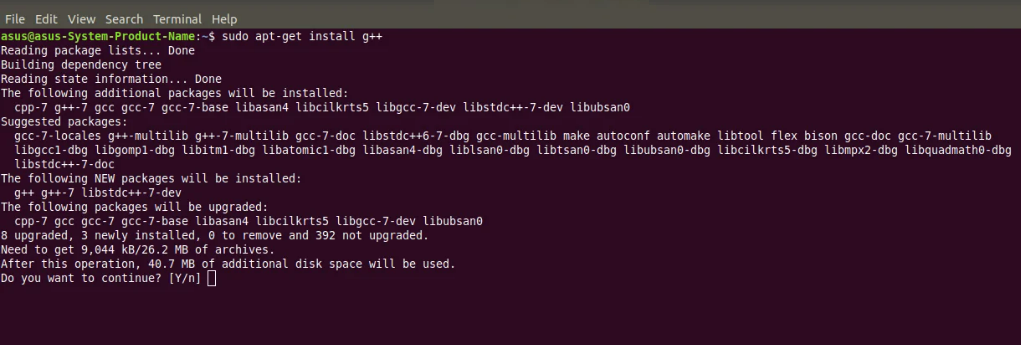
A message "enter the password" might appear if you were unable to install the g++ compiler so for the next step, enter the password.

This group of statements would show up if you have permission to install the g++ compiler. Then automatic installation would start.
Thus we have installed C++ on our system successfully.
Last but not least your compiler is ready to compile programs. In the following tutorial, you will learn to create your new and first C++ program.