
In this HTML tutorial, we will discuss the environment setup for HTML documents and their requirements.
As we discussed in the previous tutorial HTML is a Markup language it doesn’t have many requirements like most of the other languages. The only requirements to wire the HTML code is a text editor and a browser to run the written HTML document. To write an HTML document we can use a simple notepad but still, most of the programmers in the current generation use the IDE’s to write the source code. And if we want to host the created HTML website then we have to use a server.
IDE (Integrated Development Environments) are those applications that are used to develop other applications. IDE’s can perform all the functions required to develop an application. An IDE includes Source Code editor, Compiler, Debugger, and other built-in tools.
A web browser, commonly known as a 'browser,' is a program that allows you to access and view webpages. Microsoft Edge, Internet Explorer, Google Chrome, Mozilla Firefox, and Apple Safari are examples of popular web browsers. A web browser's principal role is to render HTML, the code used to construct or "markup" web pages.
A web server is a computer that is used to host websites. It's a computer application that automatically distributes web pages as they are requested. The web server's primary goal is to store, process, and distribute web pages to users. The Hypertext Transfer Protocol is used for this intercommunication (HTTP).
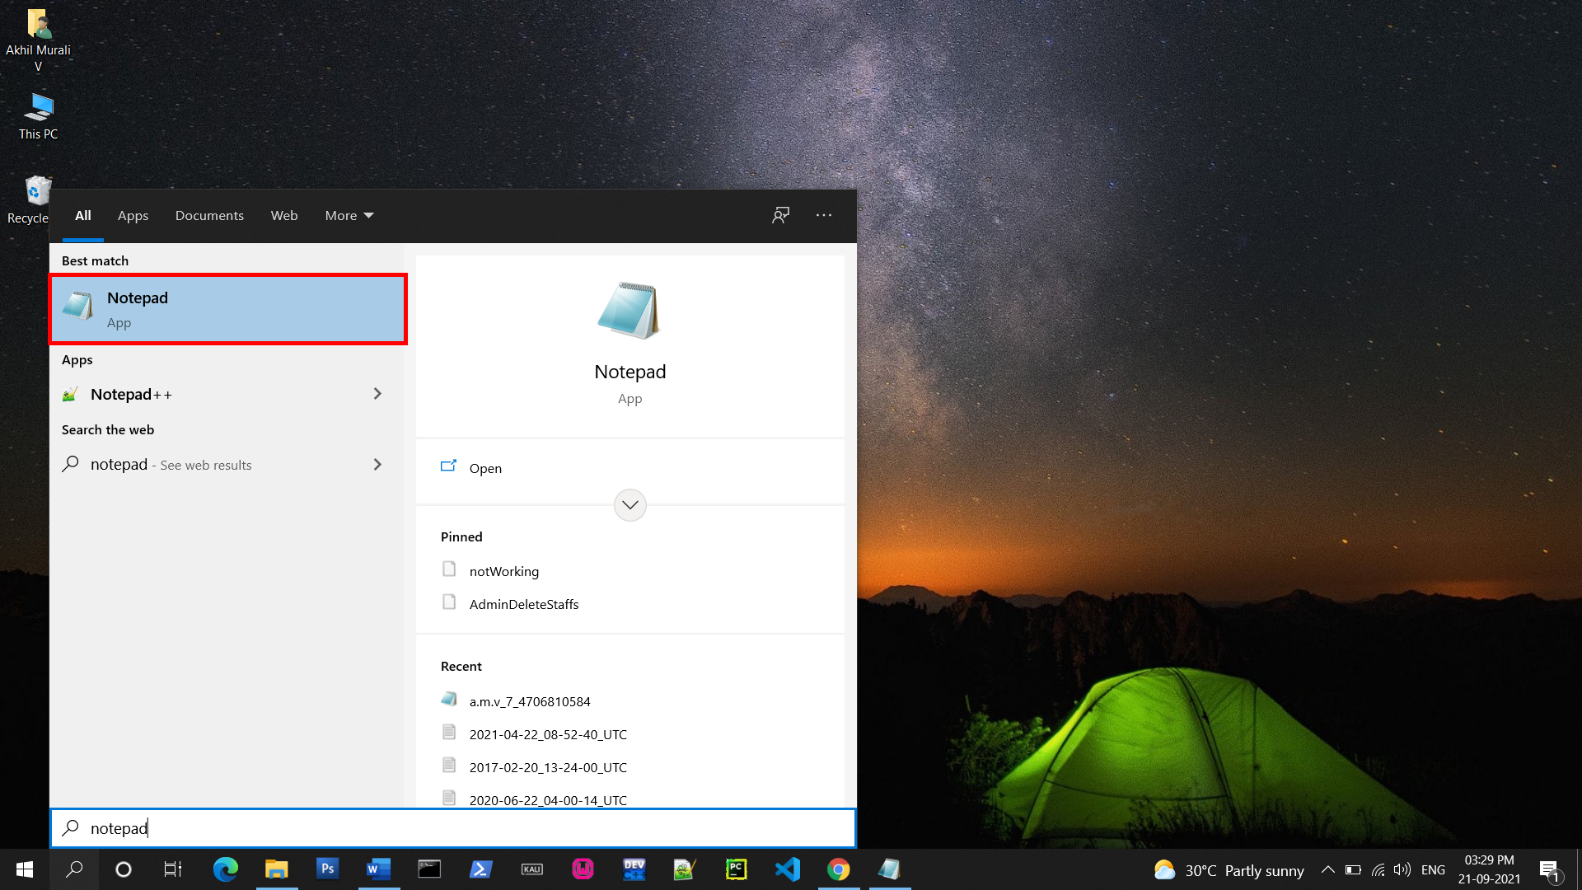
Step 1: Open any text editor for this we are using notepad
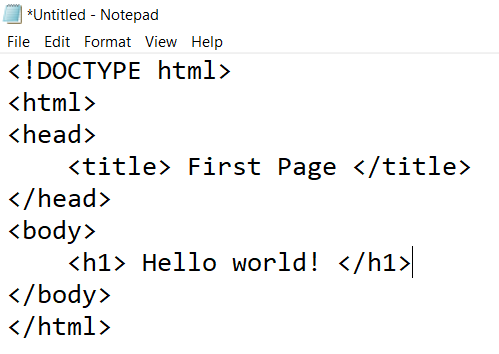
Step 2: Write the HTML code in the notepad. For example, we are writing the code to print Hello World
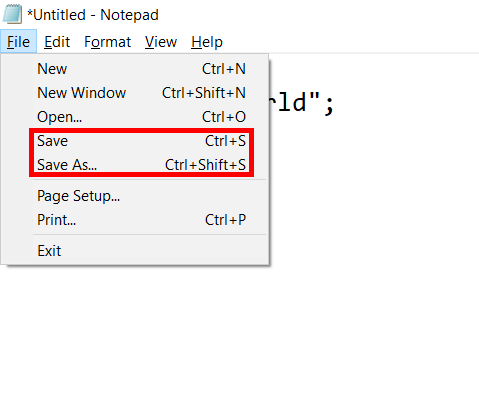
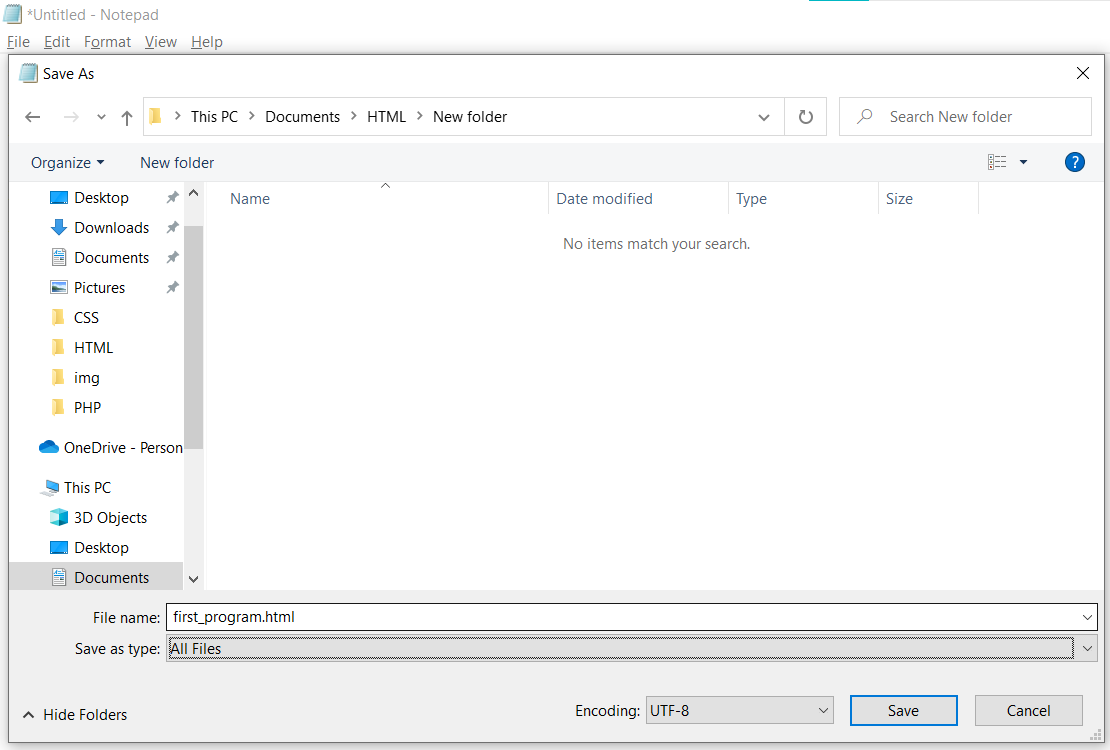
Step 3: To save the file click on save or save as menu in file menu or use the shortcut ctrl + s or ctrl + shift + s
Step 4: Now select the folder from the drive where to save the file and name the file with the extension “.html” (an HTML file should always be saved with the extension of .html). Then change the save as type to “all files” and save the file by clicking on the save button.
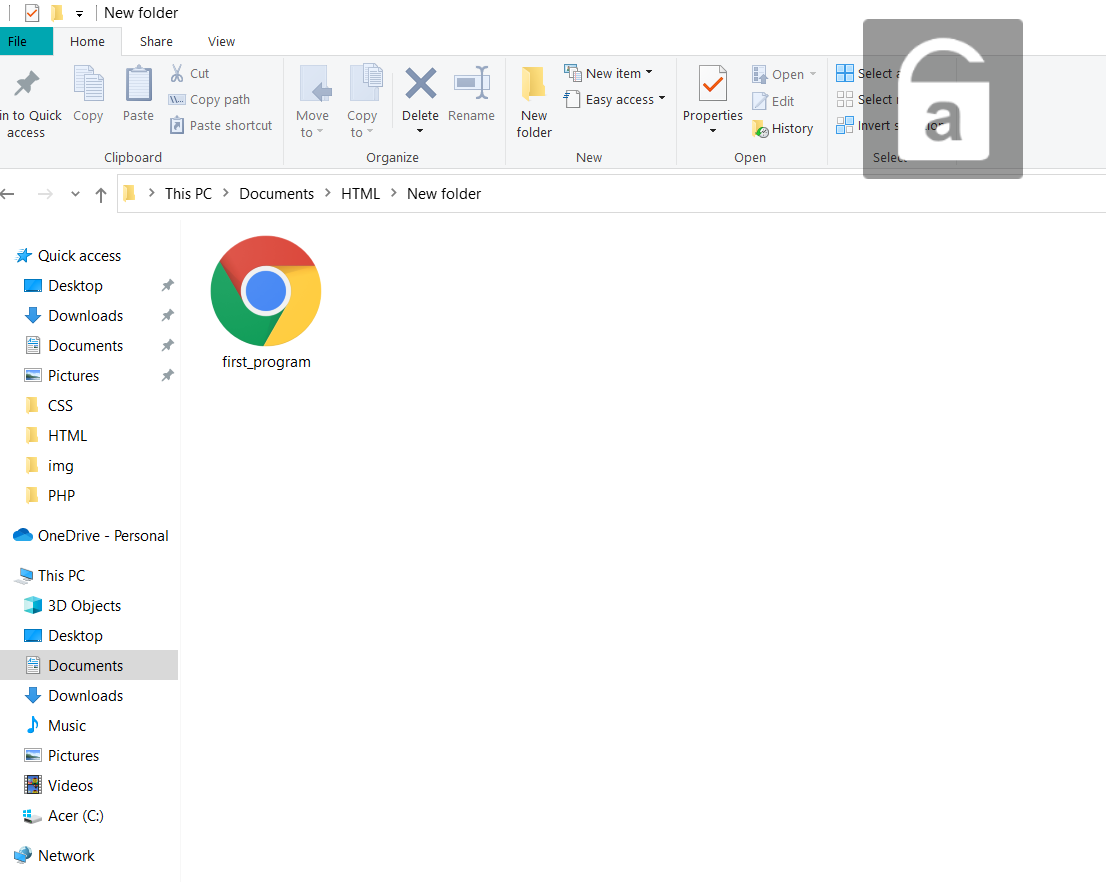
Step 5: To run the HTML document we have to open the file saved we just have to open the file in any of the browsers.
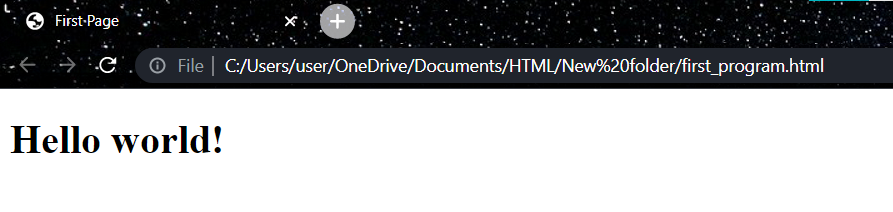
Step 6: The output of the HTML file will be