Java IDE installation for windows
In this tutorial, you will be learning to download and install the JAVA IDE, Eclipse.
Eclipse IDE
Eclipse is really the best Integrated Development Environment used for writing java application codes. Eclipse is mostly written in Java and so is easy to work with java applications however with the help of some other plugin applications in other programming languages like ADA, Erlang, Groovy, Haskell, etc can also be developed using eclipse.
Some other IDE’s you can opt to develop java applications are IntelliJ IDEA, Netbeans, BlueJ, JDeveloper, jGrasp, JEdit, Kite, etc.
Now let's move on to the step-by-step guide to download and install Eclipse IDE.
How to download eclipse IDE
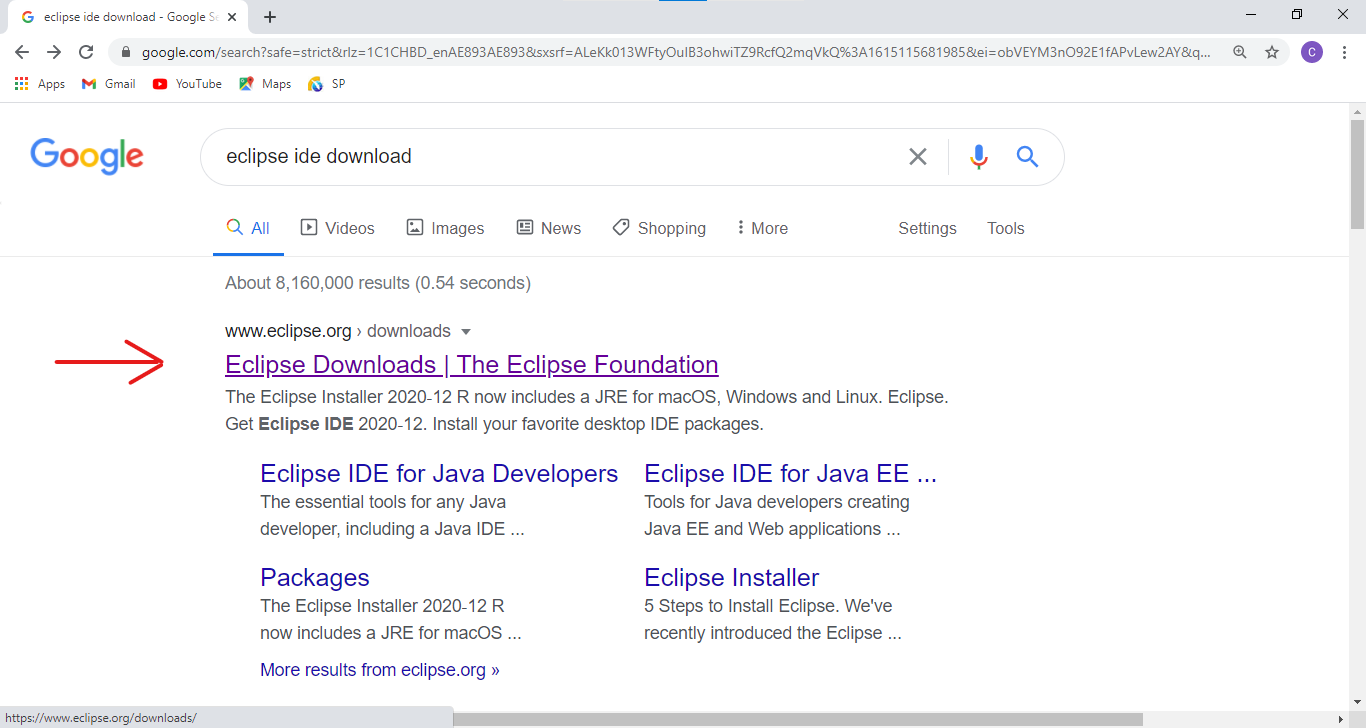
- Either click on the following link www.eclipse.org or Open your favorite browser and type Eclipse IDE download or in the search bar and hit enter. There you will get the official website as the suggestion.
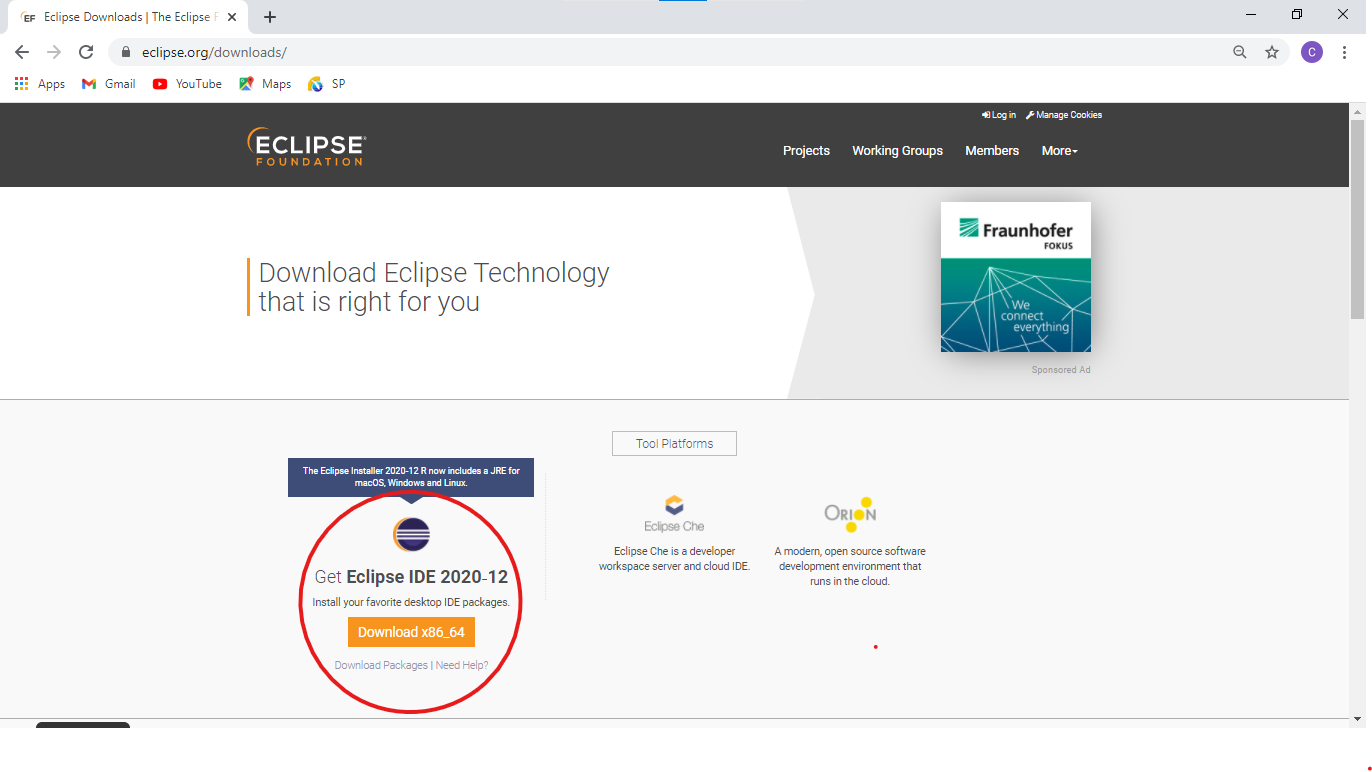
- On clicking the above link you will reach the home page of the eclipse where you can see the download button as shown in the screenshot below. Click on the “Download X86_64” button.
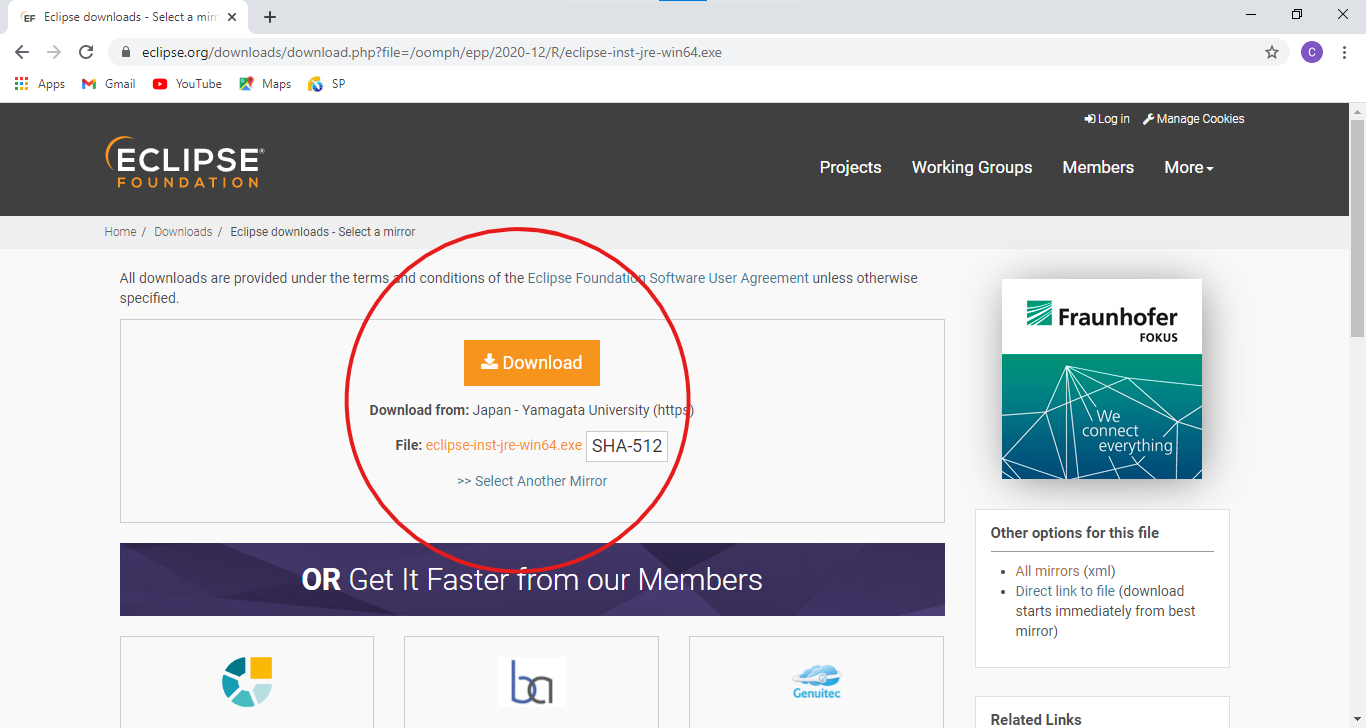
- Click again on the “Download” button.
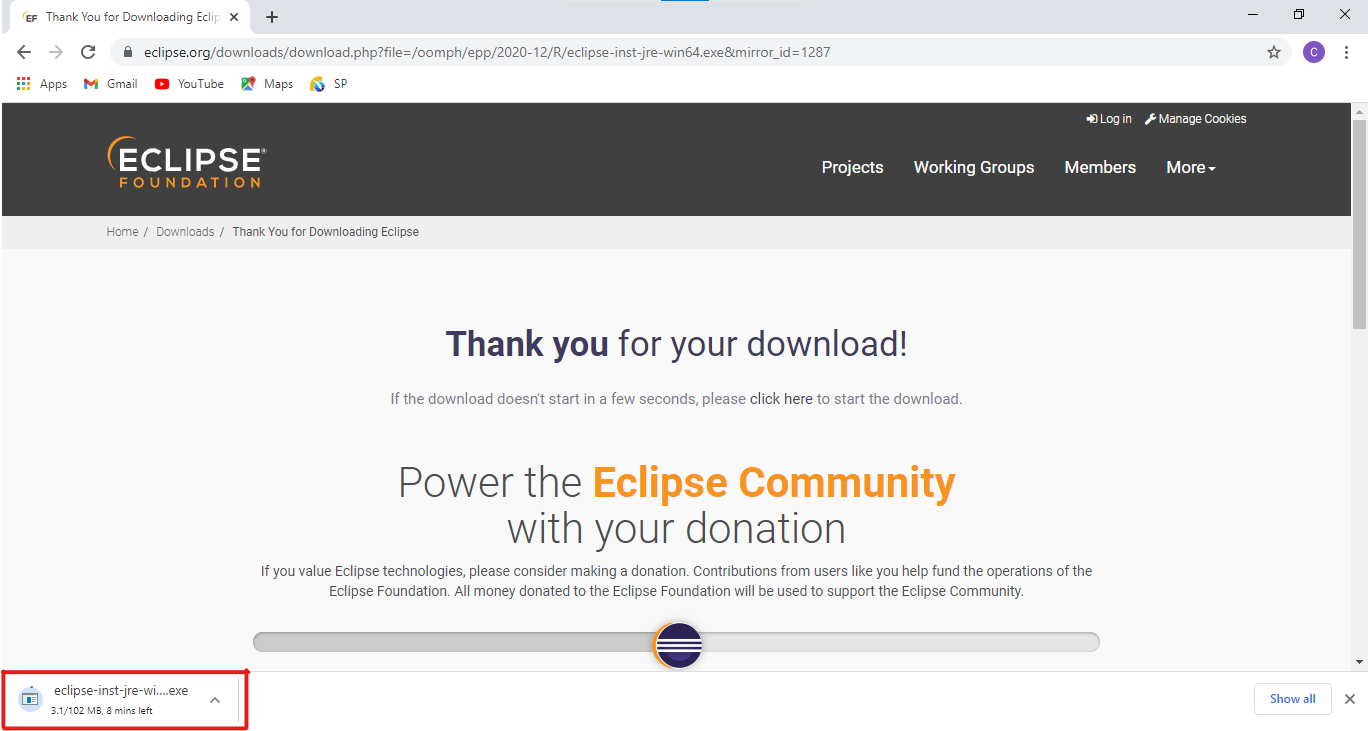
- Now the Eclipse IDE is downloaded into your system.
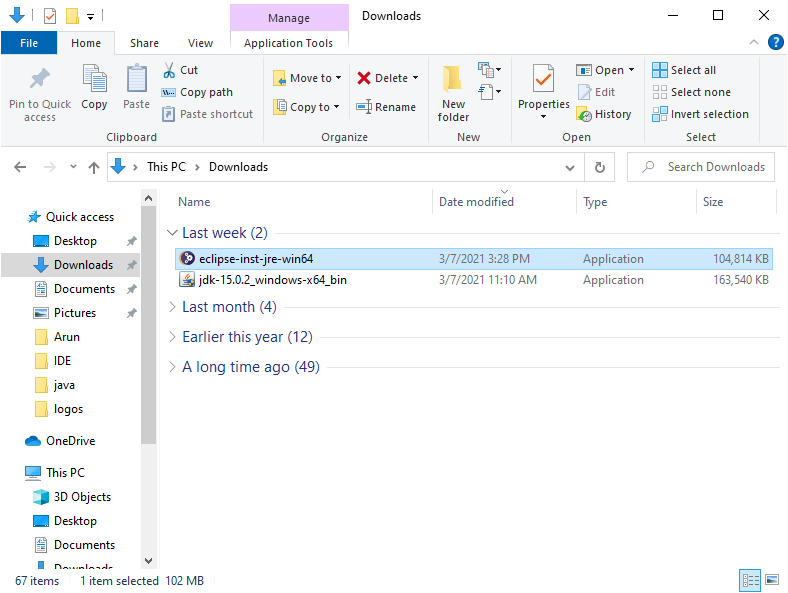
- Now open the download folder where you can see the eclipse IDE is downloaded.
How to install eclipse IDE
To install the Eclipse IDE
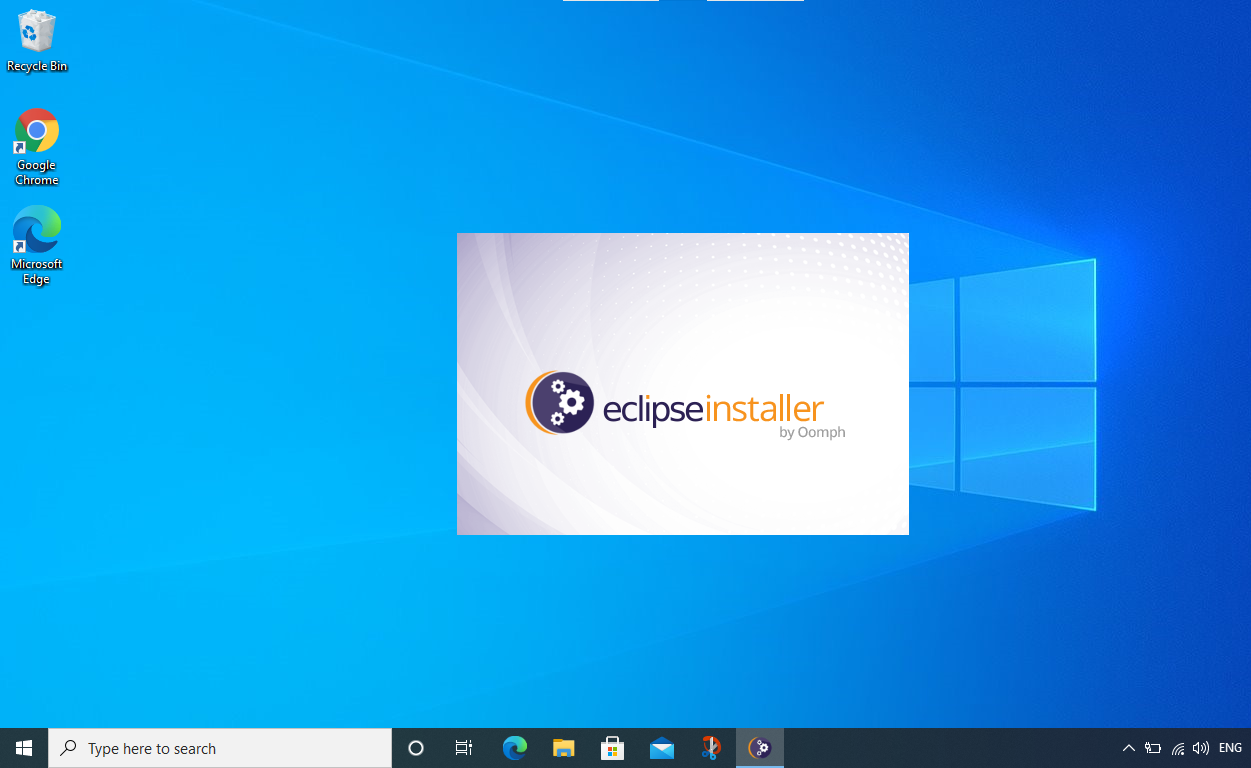
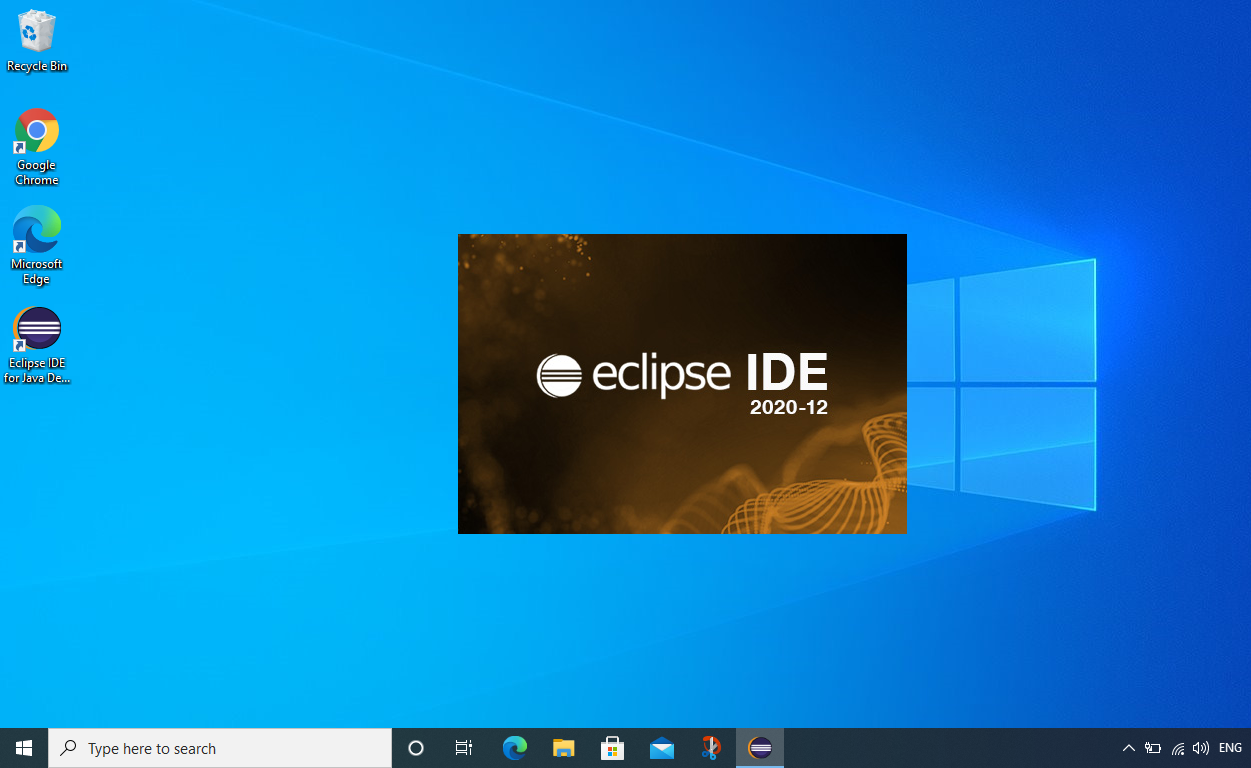
- Open the Eclipse IDE from the download folder.
- The following screen will appear when you open the Eclipse IDE
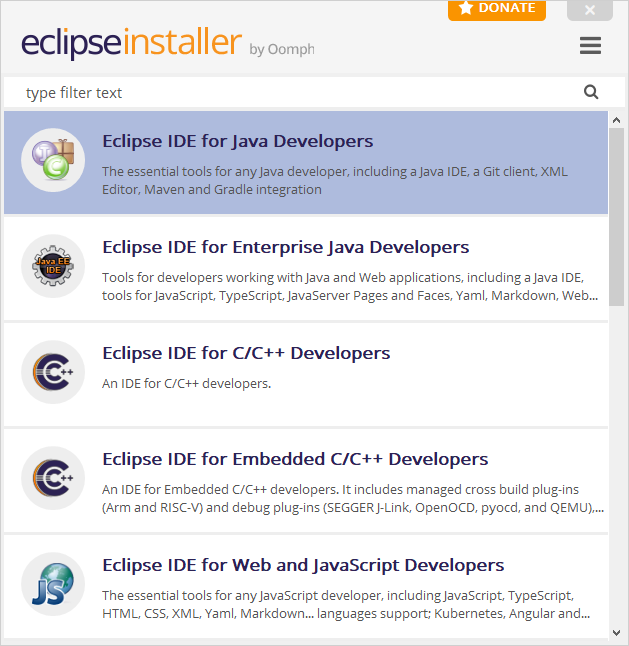
- Below the window will appear once the eclipse is opened, you can choose the first plugin which says “Eclipse IDE for Java Developers”.
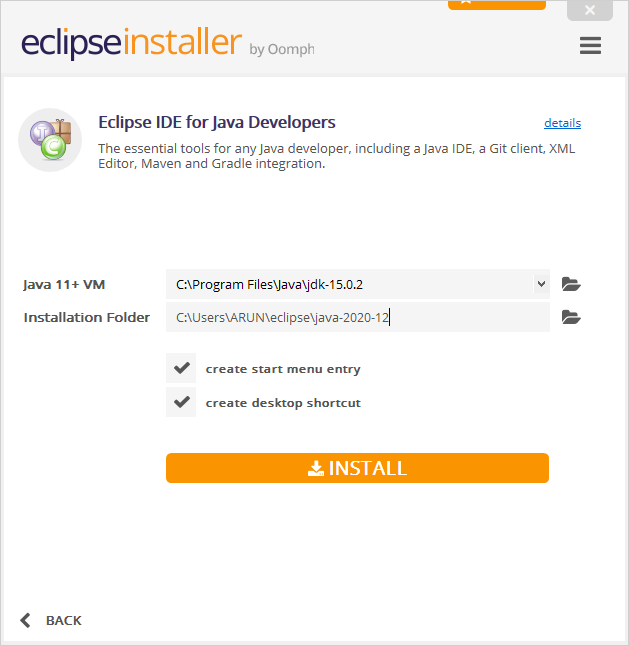
- Tick the checkboxes saying “create start menu entry” and “create desktop shortcut” first and then click on the install button.
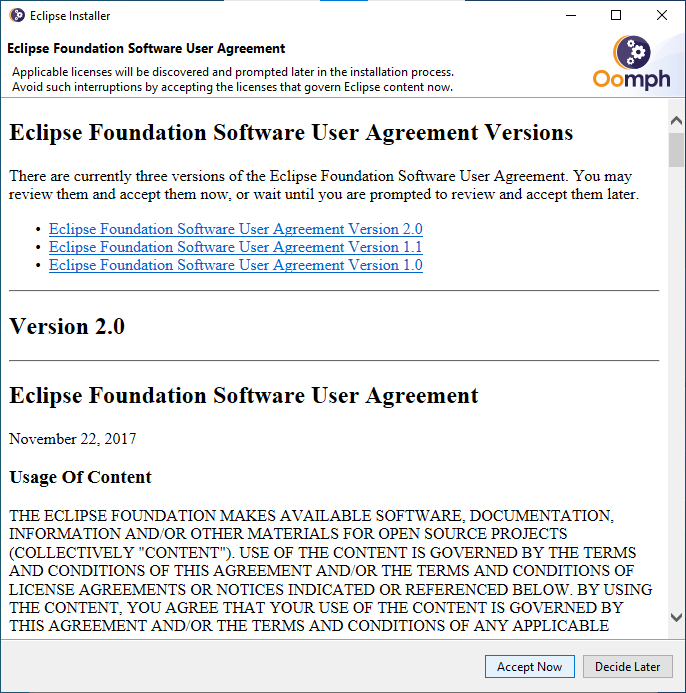
- Click on the “Accept Now “ button.
Now click the “Launch” button.
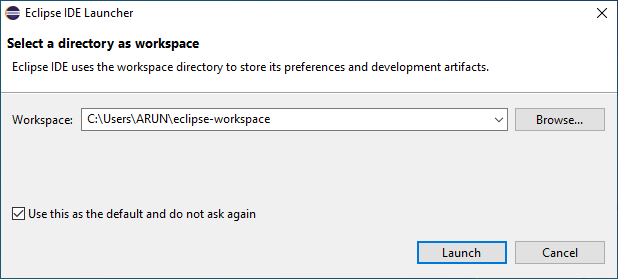
- Clicking the launch button will launch the Eclipse IDE and a window like below will appear on your screen.
- Here you can select a directory as a workspace. Two options are
- Stick with the default directory and then click the “Launch” button
- Using the browse button select the directory you wish and then click the “Launch” button
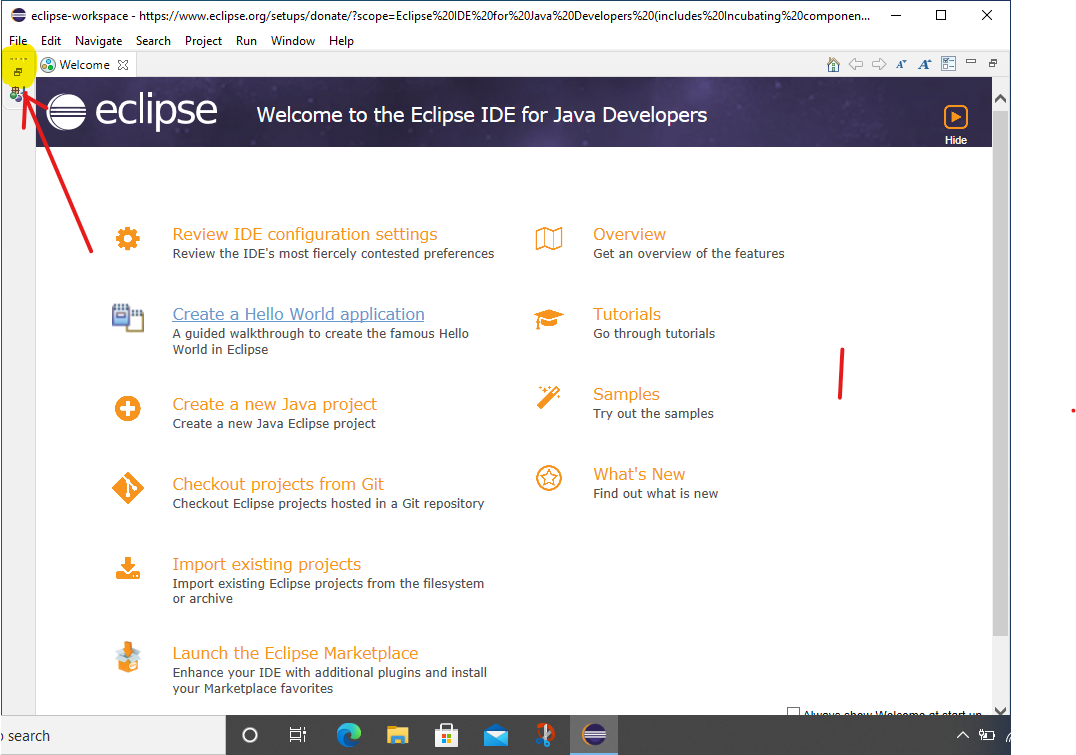
- Following the welcome window will appear.