Java installation and setup for windows
In this tutorial, you will be learning to install the JAVA JDK along with setting up a path for its environment variables in your WINDOWS system.
If you are a beginner and don’t know how to get started with JAVA, this tutorial is the best guide for you. Initially, we will examine whether java is already present in your system or not. If not, will escort you to help in solving some doubts that wander in your head like how do I download and install java for free, Which version of JAVA should I use, How to set or declare environment variables in java, etc.
How to check if JAVA is installed or not
Let’s begin by checking the presence of JAVA in your system. This can be achieved by simply finding the version of java in your system, java version will be displayed as a result if java already exists otherwise some error message will be displayed. Follow the below instructions and corresponding pictures for easy understanding.
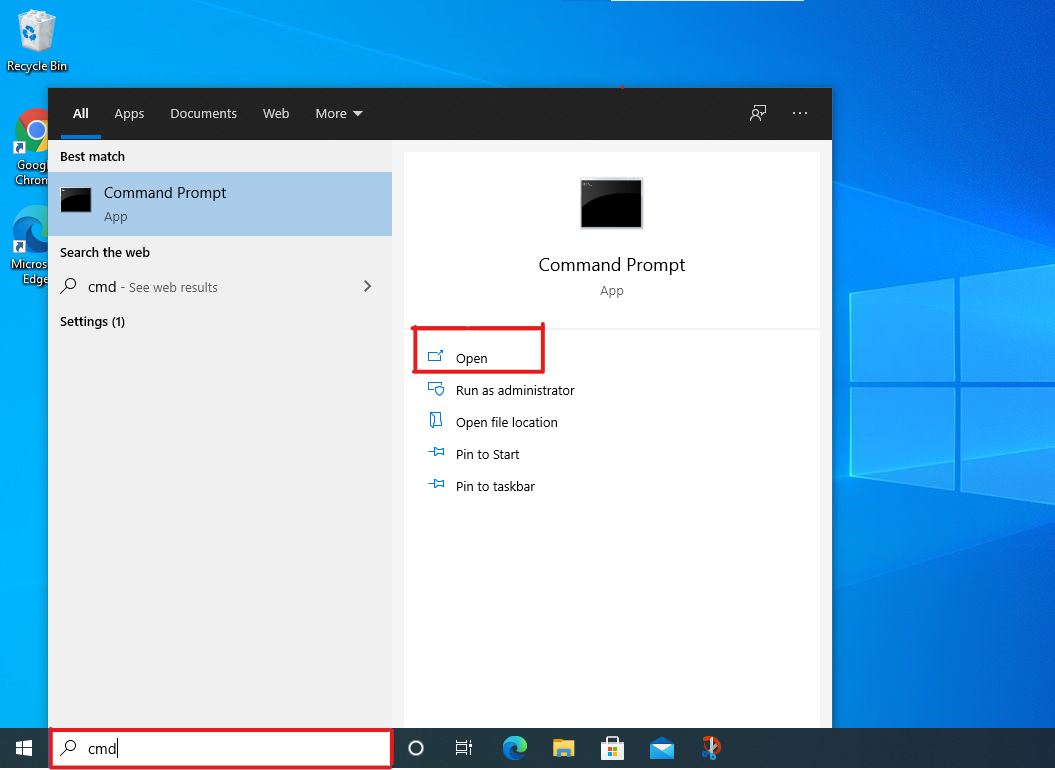
- Open a command prompt on your computer by typing “cmd” in the search bar as shown.
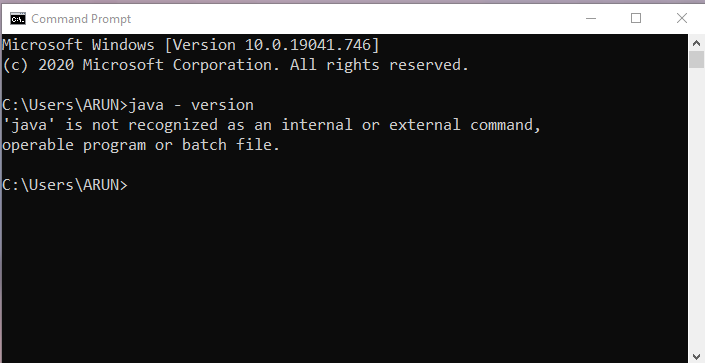
- In the command prompt just enter “java - version” as shown and press Enter.
- If java is not present in your system then a message ‘java is not recognized as an internal or external command, operable program or batch file.’ will be displayed.
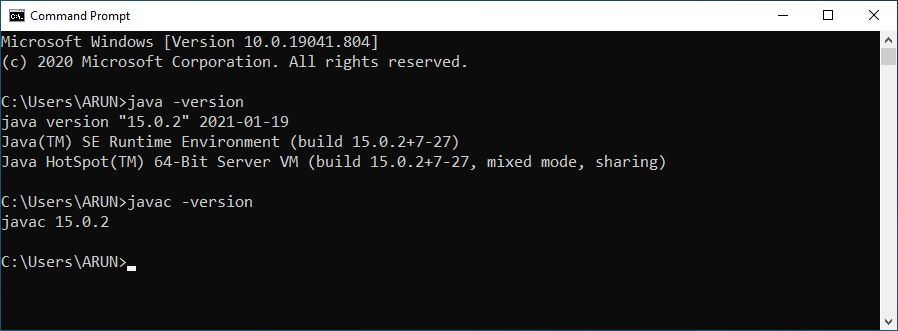
- If java is already present in your system then the java version present in your system will be displayed as shown in the below screenshot. Also, you can check with the “javac” command
How to download java for free?
Now we are sure that java is not available in the system, so it is time to download JAVA for free following the below guidelines.
- Open any of your favorite browsers.
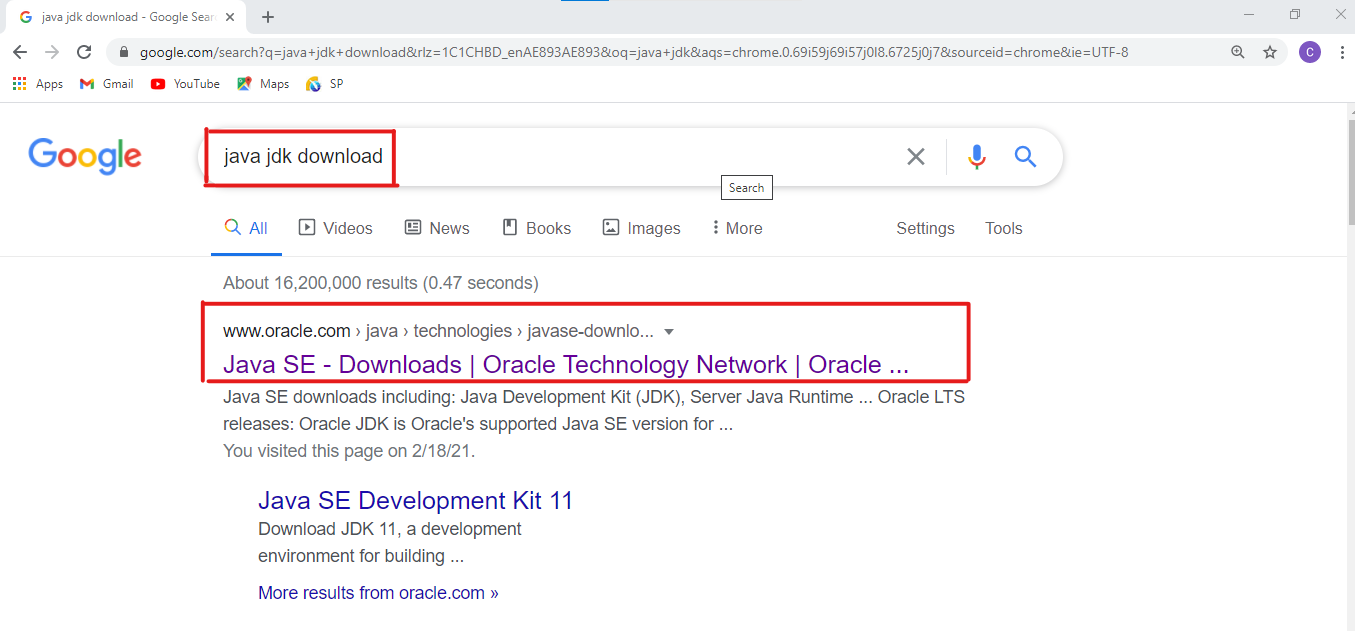
- Type “JDK download” in the search bar and hit the enter key. You will get a screen like below with the link from the official Java site, Oracle.
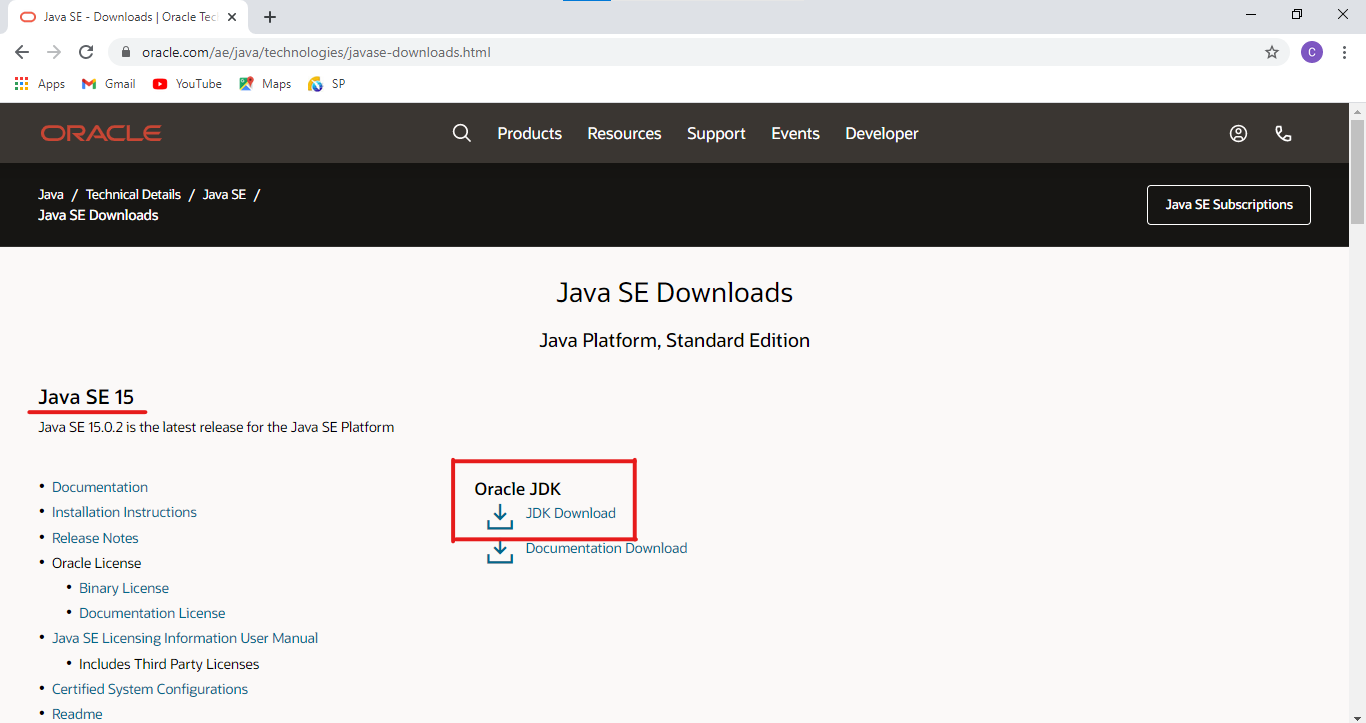
- On clicking the above link you will be directed to the Java SE downloads page as given below.
- At the time of creating this tutorial, JAVA SE 15 is the latest version of Java.
- As you scroll down this page you can see several other versions of Java also.
- To download the latest version, click on the link stating JDK Download which is enclosed in a red rectangle box in the above screenshot.
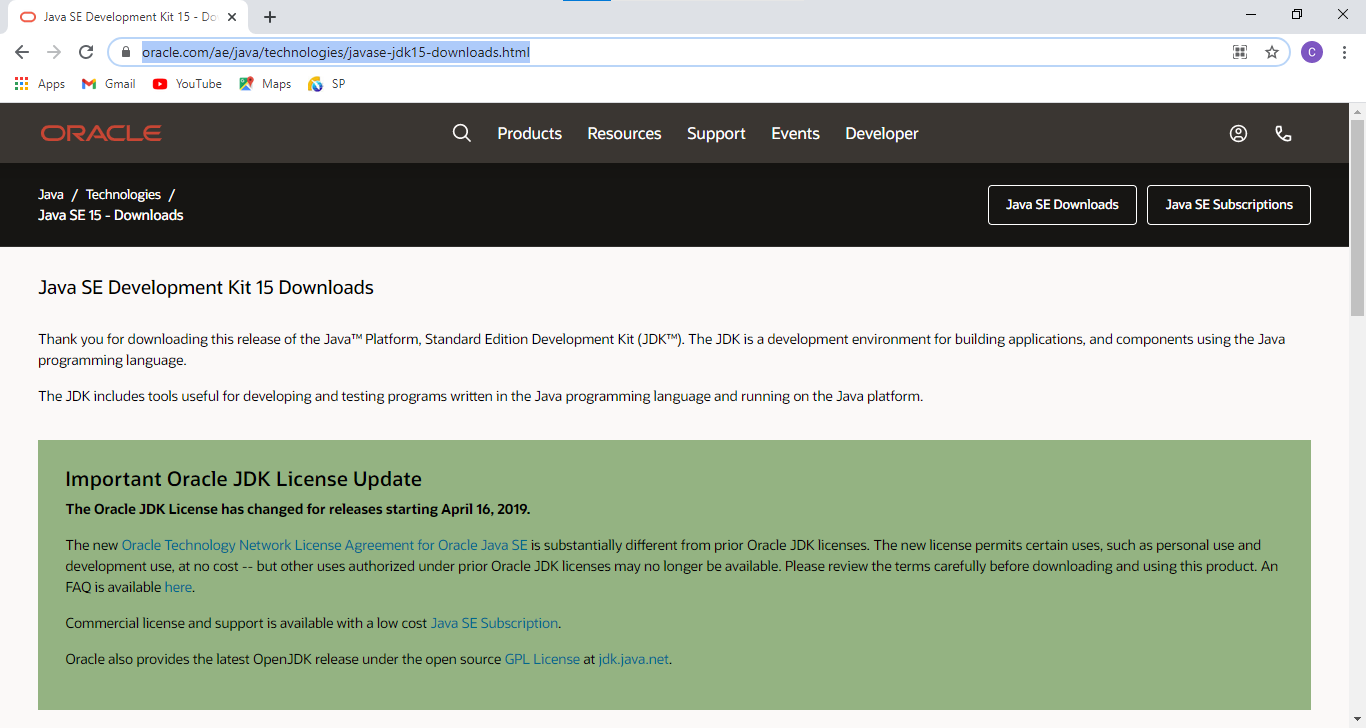
- This will take you to the Java SE Development Kit page.
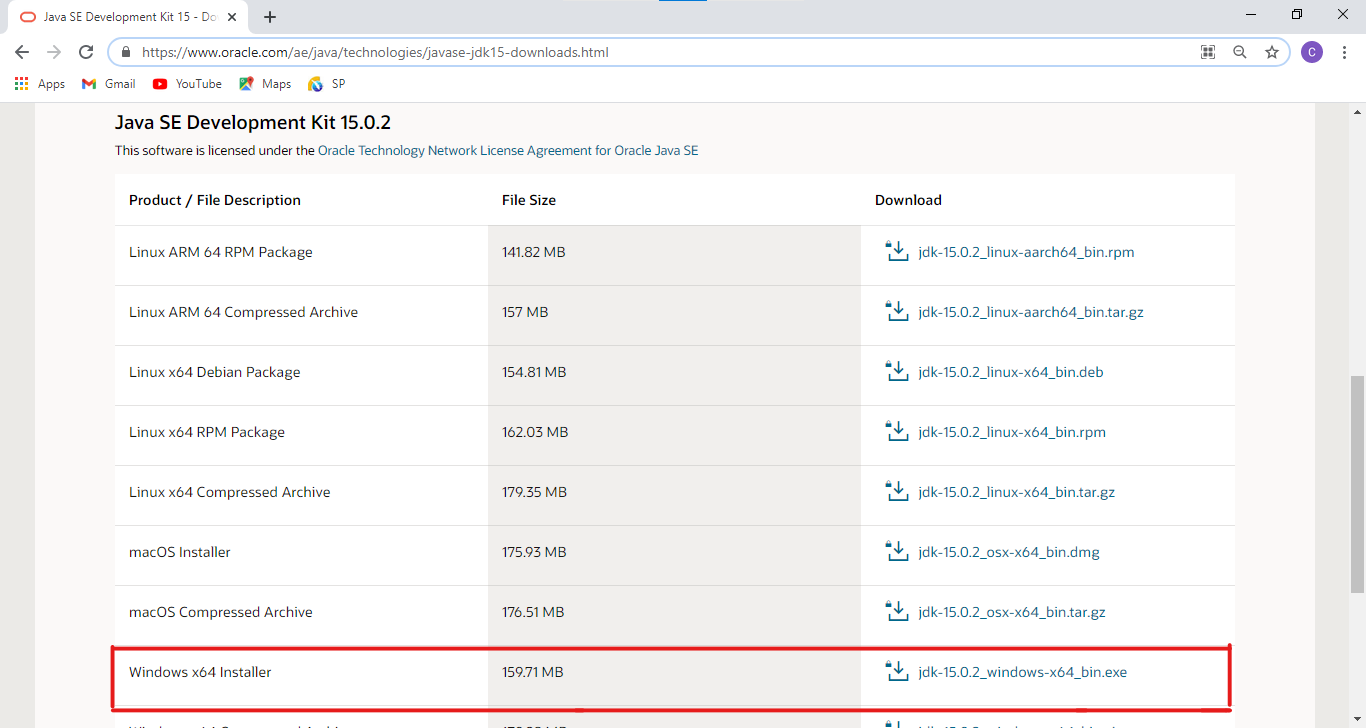
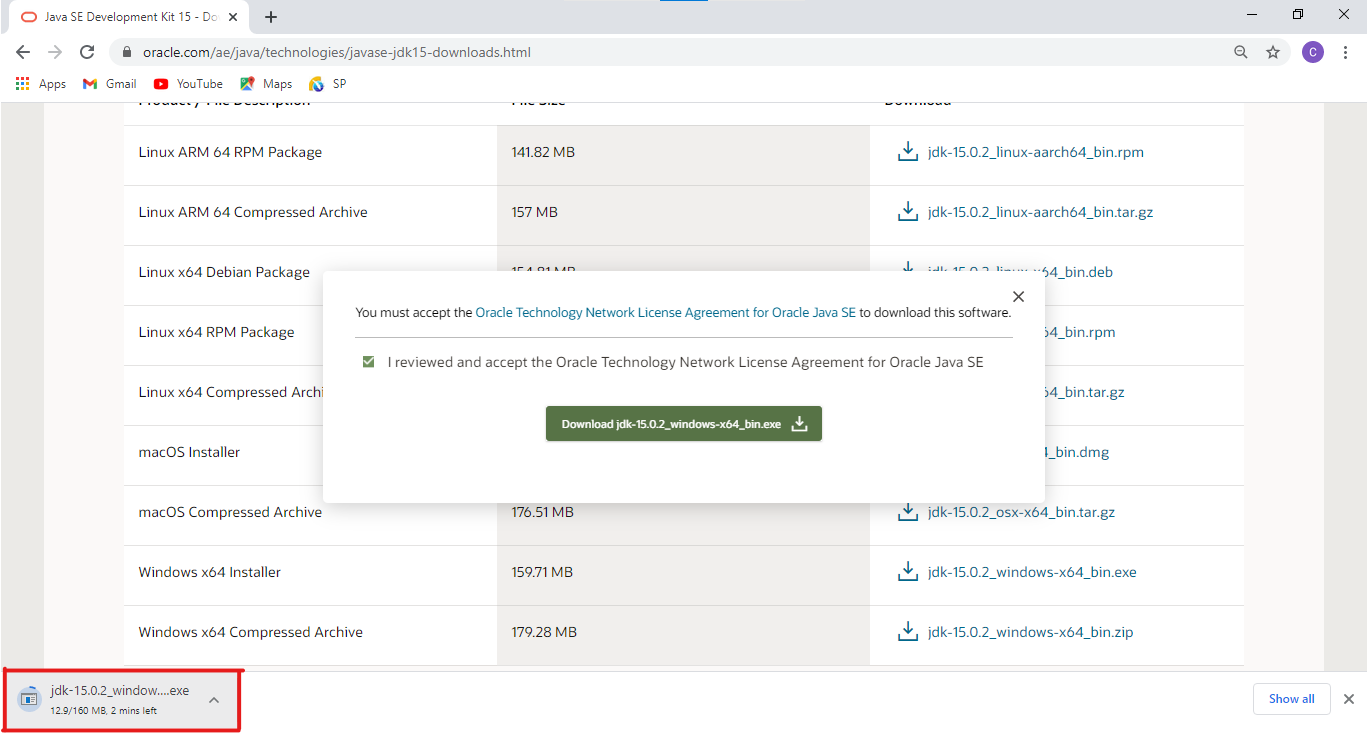
- When you scroll down you will reach the location where it says Java SE Development Kit 15.0.2 which is the latest version available while creating this tutorial. Under this, you can find various operating systems to which this JAVA JDK is available. Choose the one that suits your system.
- For Windows 10 operating, the jdk-15.0.2_windows-x64_bin.exe file is available, and click to download .
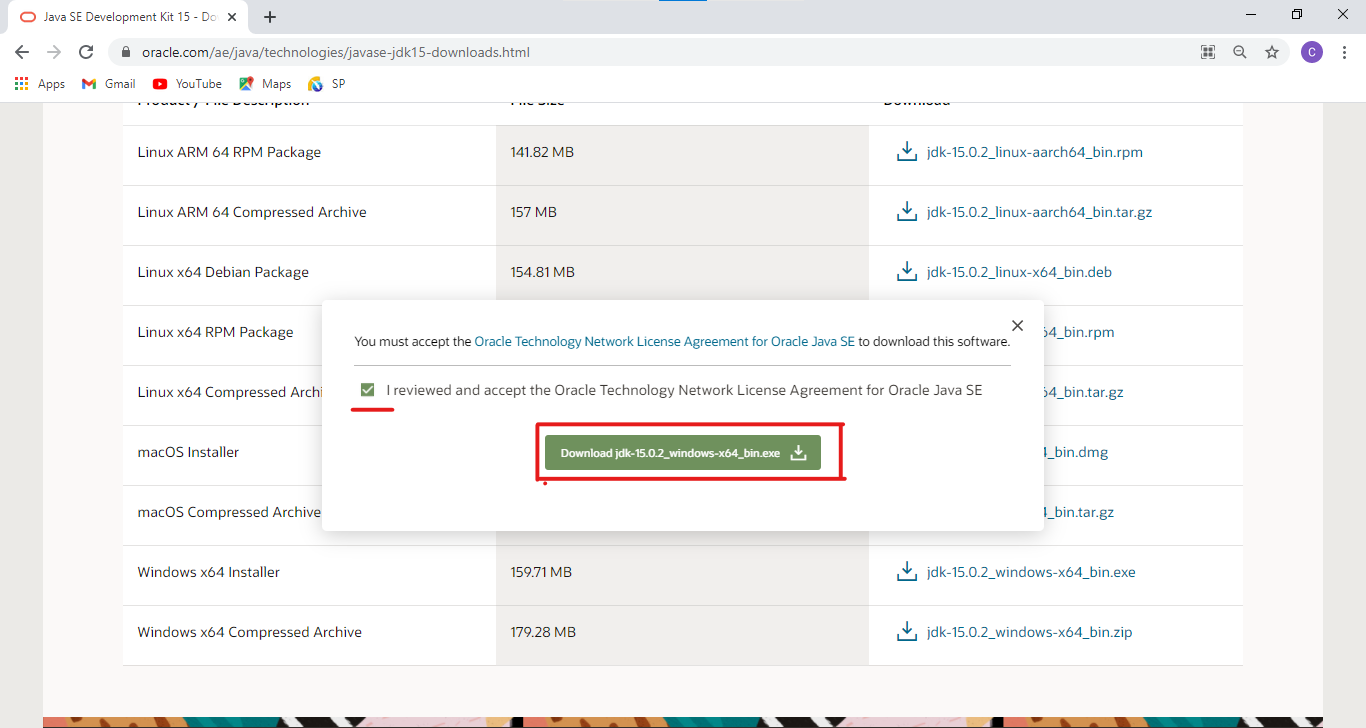
- Subsequently, a dialogue box as shown in the screenshot below will appear. Ticking the checkbox you are accepting the terms and conditions and finally press the download button which downloads the JDK kit to your system.
- Now the file is successfully downloaded into your system
How to install java?
We need to install this into our system using the below instructions.
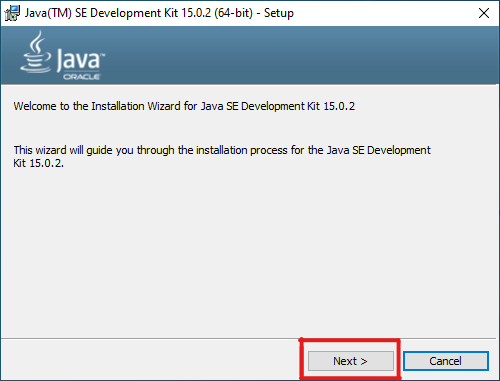
- Now open the JDK file right away after downloading or later from the download folder. As soon as you open it a dialogue box will appear, click yes.
- This will take you to the initial setup window as given below, then click Next.
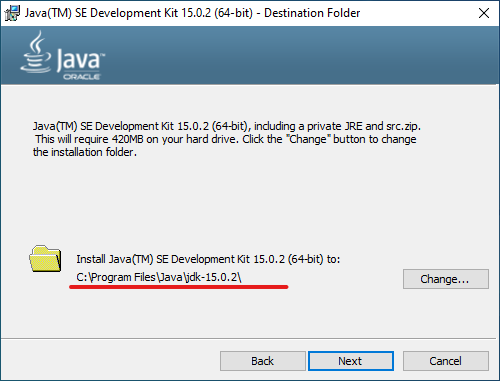
- On hitting next you will be taken to another window where you can set the destination folder to install the Java JDK file.You can choose
- Default destination folder, then click next
- To change the destination folder, just click the change button near it and change the location and then click Next.
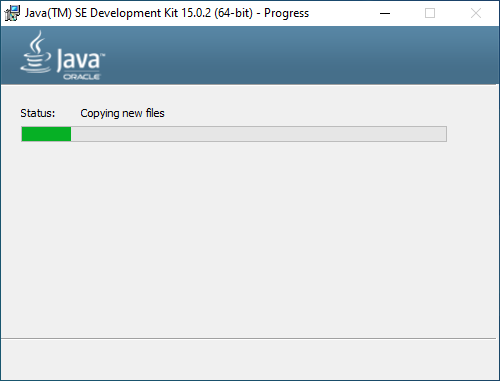
- Now the installation begins and a window like below appears to show the status of the installation.
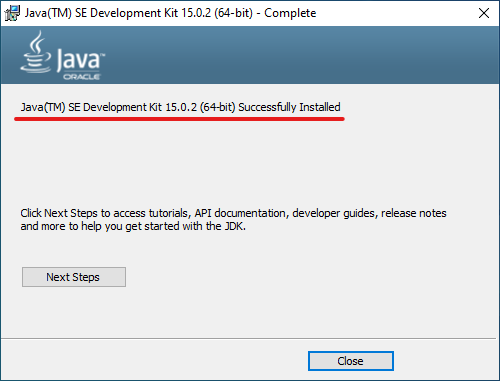
- Once the installation is complete, a window as shown below will turn up and this says the JDK is successfully installed to your system. Click close then.
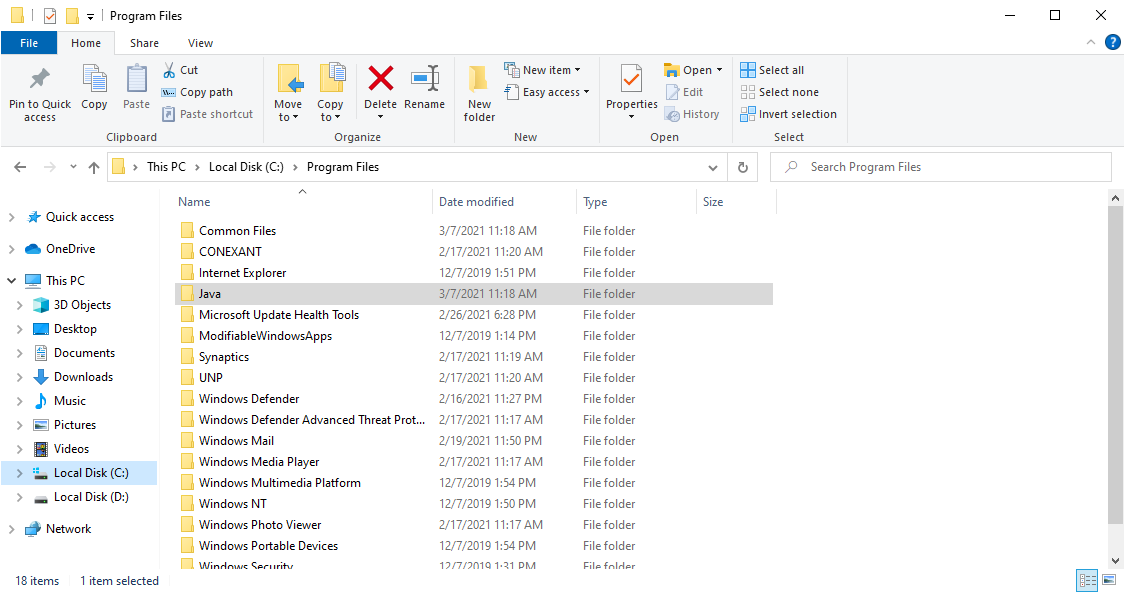
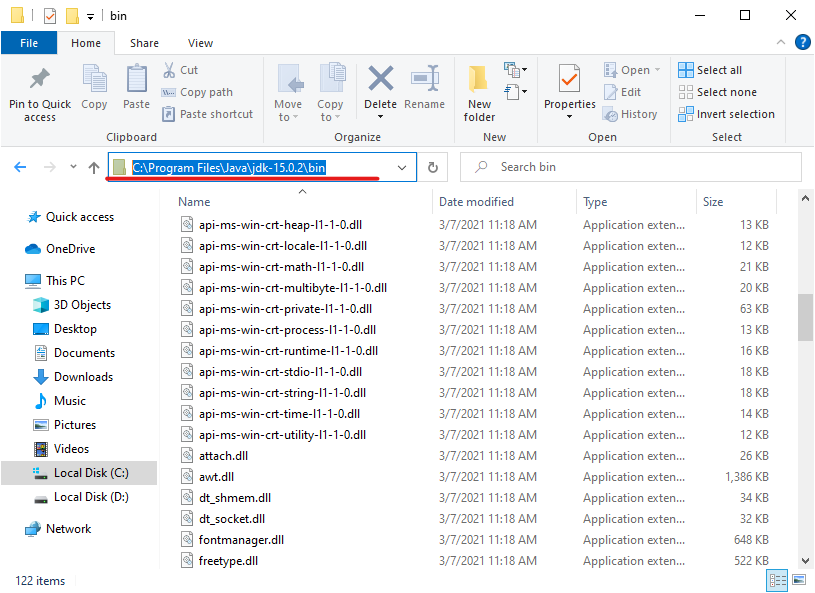
- To verify the installation is successful, just visit the location where the Java file is installed. In our case by default, the java file is located inside the program files in C drive as shown in the window below.
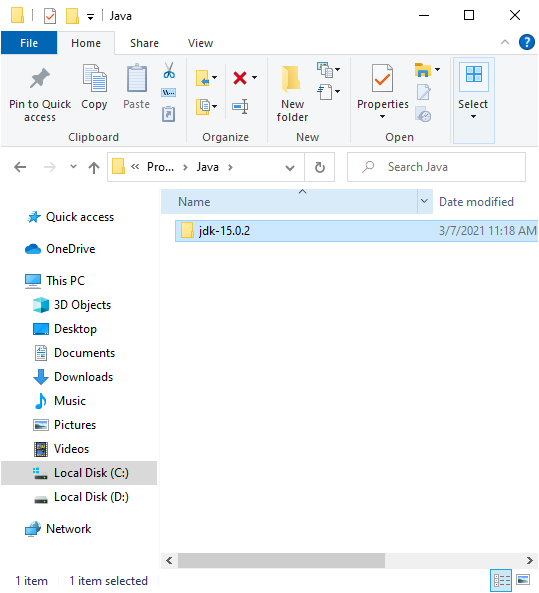
- When you open the Java Folder you can see another folder named jdk.15.0.2 which contains all the necessary folders and files required to work in java.
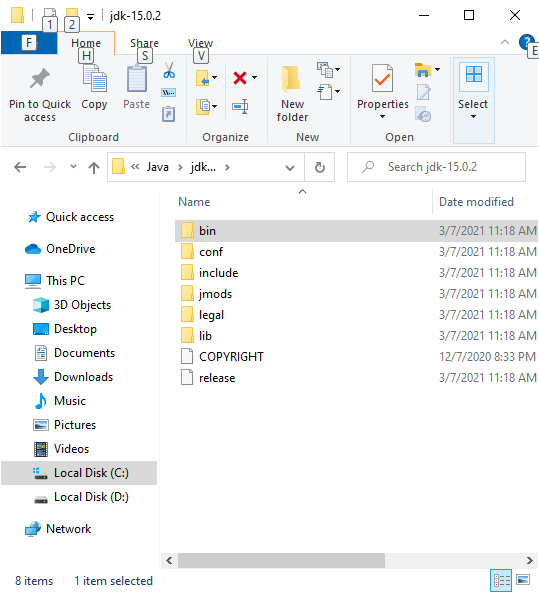
- Open the JDK folder will present you some Java-related folders out of which the bin folder is the most important one as it occupies most of the Java-related executable files and such.
How to set the path for environment variables?
We have already seen that the bin folder in the JDK 15.0.2 contains all the java executable files, so as to establish a connection with the command prompt or editor we need to set up a path. A path is generally an environment variable in OS used to specify a set of directories in a file system.To set up the path, use the below instructions:
- Copy the path of the bin folder
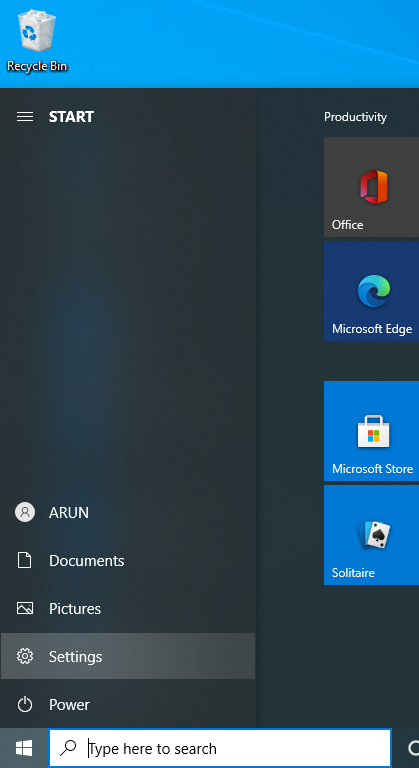
- Open the windows settings by clicking the window icon on the bottom left corner of your screen.
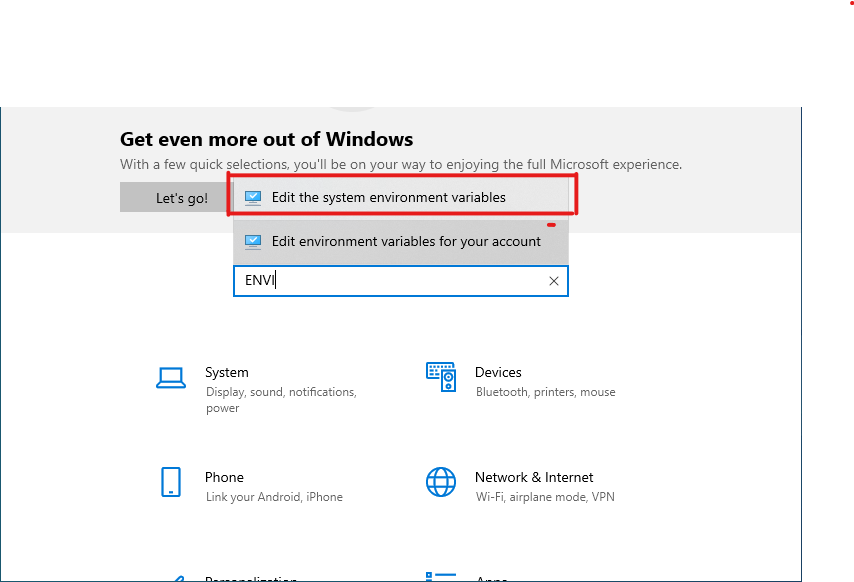
- On hitting the Settings it will take you to another window where on the search bar just type “environment variables” which gives you two options
- Edit the system environment variables
- Edit the environment variables for your account.
Select the first option and proceed.
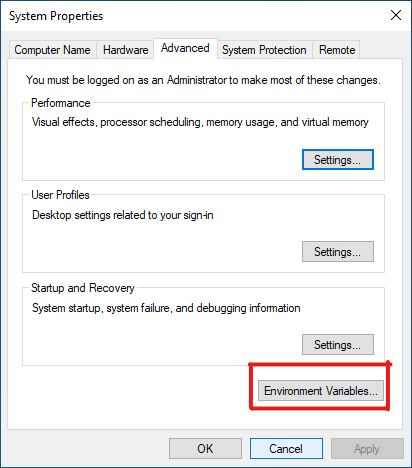
- Below the window will appear. From the “Advanced” tab select the button for Environment variables and click OK.
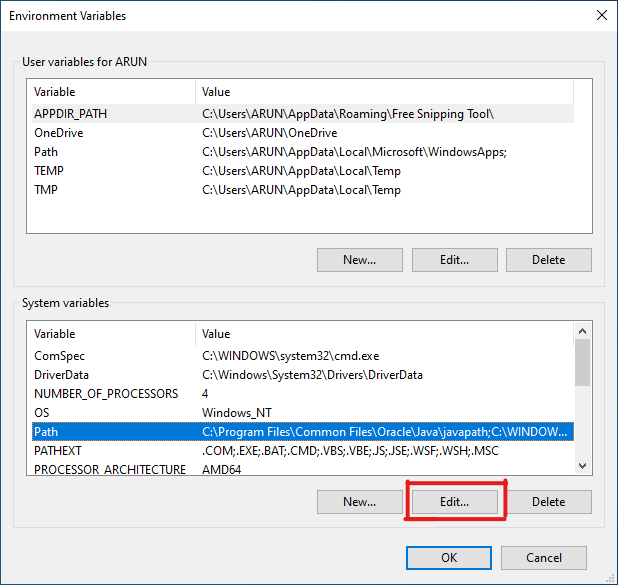
- A window like below will appear towards you. Here
- Choose the Path in the system variables
- Then click on the Edit button.
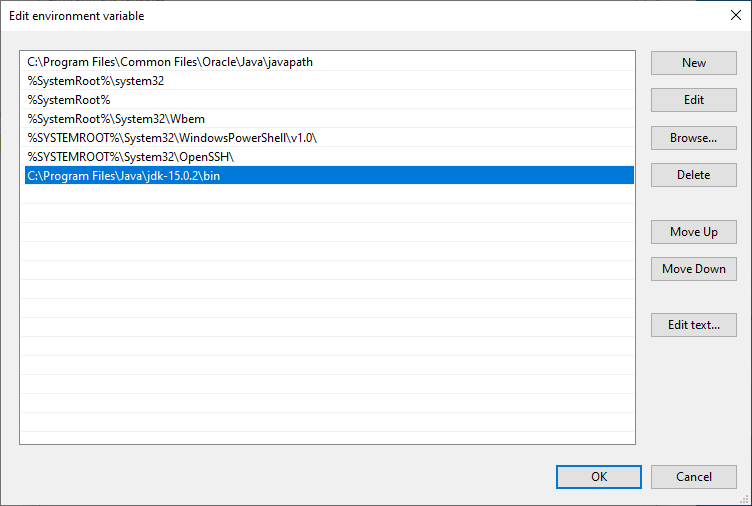
- Now you will end up on the page shown below where you need to
- Paste the copied file path and press Enter.
- Then click OK
Now the path is set.
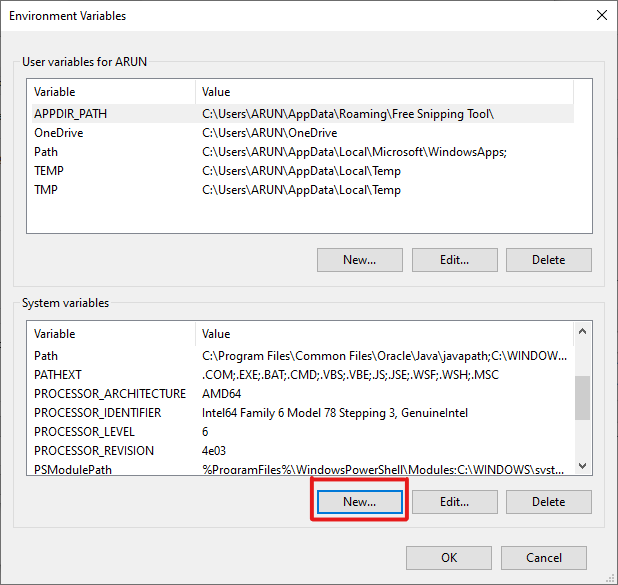
- This is an optional setup, if you want to use other java related tools you can set up a JAVA_HOME path simply by clicking on the New button in the System Variables.
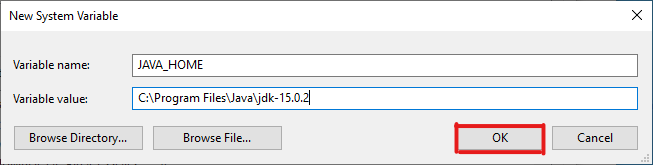
- A window like below will appear with blank fields
- You can give the variable name as you wish, here, we entitled it as JAVA_HOME
- The variable value is the path to the JDK folder. So copy the folder path from the system and paste it as shown in the picture.
- Then click OK
Thus the installation and path setting of JAVA is completed and now you can start using java for your works.